

How to Draw A Beach Ball. There are a few better ways to spend a sunny day outdoors than relaxing and having fun on the beach. One of the best accessories for any beach is a beach ball.
Also, check our free unicorn coloring pages.
With one of these, you can have tons of fun kicking and throwing it around, and it becomes something everyone can enjoy.
If you learn to draw a beach ball, you can create this fun anywhere! This is the tutorial to follow if you want to know how to do it!
How to Draw A Beach Ball
Step 1
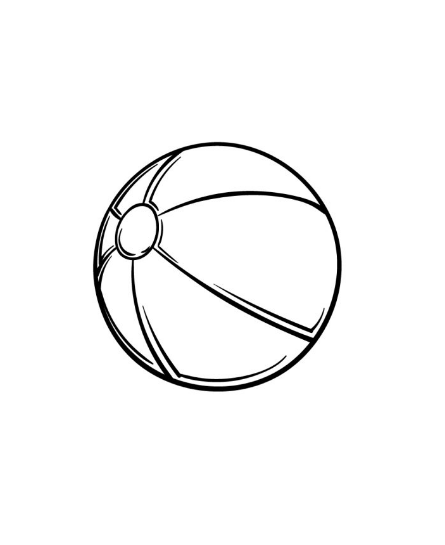
To get started with this guide to drawing a beach ball, let’s start with the outline of the ball. As you can imagine, we are drawing a circular shape.
This doesn’t have to be a perfect circle, but if you want to create a perfect circle, you can use a tool like a compass to draw it easily.
Otherwise, do your best to draw the object closest to a perfect circle slowly.
Beach balls tend to have a slightly irregular shape, so don’t worry if you don’t end up with a perfect circle.
However, you end up drawing it; once you’ve completed this circle, you can move on to step two of the guide!
Step 2
A beach ball is almost always decorated with different segments. We’ll start drawing these details in this second part of drawing your beach ball.
For now, let’s focus on the details on the left side of the ball. To do this, draw a circle on the upper left side of the sphere.
Then draw a series of curved lines coming out of this circle. For now, let’s draw four of these curved lines.
One comes out from the bottom of the circle, another extends up, and the other two go to the left. Then go to step 3!
Step 3
In this third step of our guide to drawing a beach ball, we’ll keep things simple. We’ll add more detail to the line on the ball you started in the previous step.
You must draw another curved line extending from the top of the small circle to the beach ball’s right side.
Try to follow the curvature of the lines we used in our reference image! Then we can add more details in the next part.
Step 4
In this fourth part of your water polo drawing, you’ll add the final line detail for the ball. To complete the beach ball segments, draw another one of those long, curved lines.
This fills in the last remaining space in the ball and fills in the details nicely.
Once you’ve drawn all the segments of the beach ball, we can add the final details and touch-ups in step five, so let’s move on!
Step 5
First, before coloring your creation, we have a few final details to add in this step of our how-to draw a beach ball guide.
These details will seem insignificant, but they will make a big difference! Just draw a few lines parallel to the segment lines you’ve drawn.
These lines also fall off sharply when they reach the inside edge of the beachball outline. Once these have been drawn, you can add more details!
The obvious choice would be to draw a cool beach landscape, and this would be a great opportunity to show off what other toys and items you would like with this beach ball!
Step 6
Beach balls usually have some bright and interesting colors decorating them, which is why we’re going to add some color to your beach ball design in this final step!
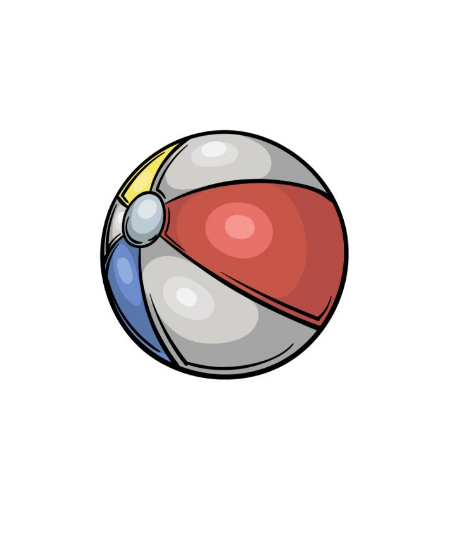
In our reference image, we used some red, yellow, and blue for some sections of the ball, while we used some shades of gray and white for the segments in between.
You could choose a few similar colors for your design, but this would also be a great opportunity to incorporate some of your favorite colors.
This is your chance to unleash your creativity, so have fun and see what happens!